Adding Google Authentication In .Net Core Application Without Identity The Basics

Published On Friday May 28, 2021
Reading Time: 5 minutes
Having a flexibility of creating a login logic can have many benefits to enjoy your self logic on to the application for authorization. So today here we will get the idea of going through Google Authentication in a .Net Core Application on a step wise process.
Note: The demonstration does not contains full application scenario (Complete Application) but have all the basic details needed which can be used to handle the details with self logic for your application needs.
Part 1 : Google Console Setup
First we need to have Google Client Id And Google Client Secret so for the purpose,
Login To Google Console and create a new New Project as

Now we need to enter a project name so as to distinguish each application, the organization field can be left as it is if you don’t want to have any organization.

Now, we need to move to Credentials menu as per the image below

Since we are creating an application for the first time we need to Configure Consent Screen which will be displayed when user chooses to login through Google.

Now, once we click on the button the below screen is displayed not choose External since the application is for any external users and click on Create.

Now, we need to enter a App Name and support and developer email address to create an app, the app creation and its use is shown below

Now, since we are doing the work with minimum configuration we can save and continue until the last, if you want to explore more every step will be presented with very descriptive details on the portal itself.


Here the app creation concludes now we need to move to credentials menu and create a OAuth Client ID as per the image below

Now we need to configure by choosing Application Type as Web Application and a client name as in the image below. Now Authorized Redirect URLs are the URL used for the redirection of the Google Authentication after success or failed attempt. The URL must be application URL. Since we are using ta local application we have used local urls.

Once clicked on Create we will be presented with the Client Id and Client Secret Id

Now we have completed the setup part on the Google Portal and have got the required
- Client Id
- Client Secret
Part 2 : Configuring Application For Google Sign In
Now, for testing I have create a default Asp.Net Core 5.0 application with MVC template with no authentication. We now have to install a NuGet Package
- Microsoft.AspNetCore.Authentication.Google 5.0.6
Now, we will start with code on the Startup.cs file, We need to add the authentication service on the ConfigureServices method for Google as per the code below
You can put the value of the client id and client secret on the appsetting.json file or any secrets helper. For easiness I have added the code on the class itself.
services.AddAuthentication(o =>
            {
                o.DefaultScheme = "Application";
                o.DefaultSignInScheme = "External";
            })
            .AddCookie("Application")
            .AddCookie("External")
            .AddGoogle(o =>
            {
                o.ClientId = ".......Client Id Generated...................";
                o.ClientSecret = "................Client Secret...........................";
            });
Also add the following code on the Configure method on the Startup.cs file right after app.UseRouting
app.UseAuthentication();
app.UseAuthorization();
Now we need to create a controller for the Google authentication mechanism for handling the authentication process.
Lets create a controller with the name GoogleLoginController.cs or any other name you want and add the codes as below, all the description has been added on each line of the code
using Microsoft.AspNetCore.Mvc;
using System.Linq;
using System.Security.Claims;
using System.Threading.Tasks;
using Microsoft.AspNetCore.Authentication;
using Microsoft.AspNetCore.Authentication.Google;

namespace SocialLoginGoogle.Controllers
{
    public class GoogleLoginController : Controller
    {
        /// <summary>
        /// Google Login Redirection To Google Login Page
        /// </summary>
        /// <returns></returns>
        public IActionResult Index()
        {
            return new ChallengeResult(
                GoogleDefaults.AuthenticationScheme,
                new AuthenticationProperties
                {
                    RedirectUri = Url.Action("GoogleResponse", "GoogleLogin") // Where google responds back
                });
        }


        /// <summary>
        /// Google Login Response After Login Operation From Google Page
        /// </summary>
        /// <returns></returns>
        public async Task<IActionResult> GoogleResponse()
        {
            //Check authentication response as mentioned on startup file as o.DefaultSignInScheme = "External"
            var authenticateResult = await HttpContext.AuthenticateAsync("External");
            if (!authenticateResult.Succeeded)
                return BadRequest(); // TODO: Handle this better.

            //Check if the redirection has been done via google or any other links
            if (authenticateResult.Principal.Identities.ToList()[0].AuthenticationType.ToLower() == "google")
            {
                //check if principal value exists or not
                if (authenticateResult.Principal != null)
                {
                    //get google account id for any operation to be carried out on the basis of the id
                    var googleAccountId = authenticateResult.Principal.FindFirst(ClaimTypes.NameIdentifier)?.Value;
                    //claim value initialization as mentioned on the startup file with o.DefaultScheme = "Application"
                    var claimsIdentity = new ClaimsIdentity("Application");
                    if (authenticateResult.Principal != null)
                    {
                        //Now add the values on claim and redirect to the page to be accessed after successful login
                        var details = authenticateResult.Principal.Claims.ToList();
                        claimsIdentity.AddClaim(authenticateResult.Principal.FindFirst(ClaimTypes.NameIdentifier));// Full Name Of The User
                        claimsIdentity.AddClaim(authenticateResult.Principal.FindFirst(ClaimTypes.Email)); // Email Address of The User
                        await HttpContext.SignInAsync("Application", new ClaimsPrincipal(claimsIdentity));
                        return RedirectToAction("Index", "Dashboard");
                    }
                }
            }
            return RedirectToAction("Index", "Home");
        }


        /// <summary>
        /// Google Login Sign out
        /// </summary>
        /// <returns></returns>
        public async Task SignOutFromGoogleLogin()
        {
            //Check if any cookie value is present
            if (HttpContext.Request.Cookies.Count > 0)
            {
                //Check for the cookie value with the name mentioned for authentication and delete each cookie
                var siteCookies = HttpContext.Request.Cookies.Where(c => c.Key.Contains(".AspNetCore.") || c.Key.Contains("Microsoft.Authentication"));
                foreach (var cookie in siteCookies)
                {
                    Response.Cookies.Delete(cookie.Key);
                }
            }
            //signout with any cookie present
            await HttpContext.SignOutAsync("External");
            RedirectToAction("Inex", "Home");
        }
    }
}
Now, that we have completed our controller we need to add the link for Login With Google, for the purpose since we have been using the default template we will be adding the link inside the navbar section on the _Layout.cshtml page which is on Views -> Shared -> _Layout.cshtml.
<li class="nav-item">
     <a class="nav-link text-dark"  asp-controller="GoogleLogin" asp-action="Index">Login With Google</a>
</li>
Now, we are done with the setup now the view page will look like

Now clicking on the Login With Google Button you will be redirected to Google Login Page
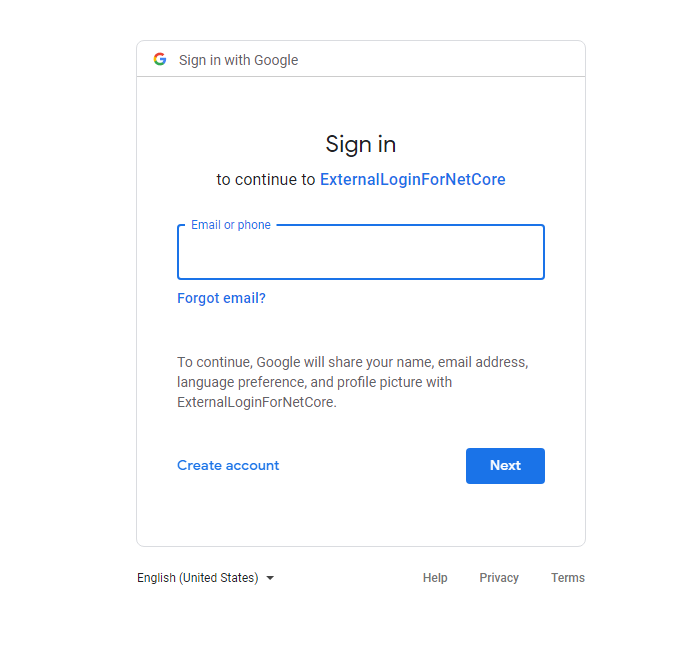
Now, once the user uses his/her Gmail id and logs in the response will be redirected to the GoogleLoginController -> GoogleResponse Method. Now we can easily handle the response and handle the login scenario on our own way.
Hope the post helps you for understanding the basics for Login With Google. Keep Learning And Keep Sharing 🙂
Thank you very much for Your Guide! Clear and working
Mesmerizing