Implementing Serilog With Seq For Log Monitoring In Asp.Net Core
Published On Thursday June 11, 2020
Reading Time: 4 minutes
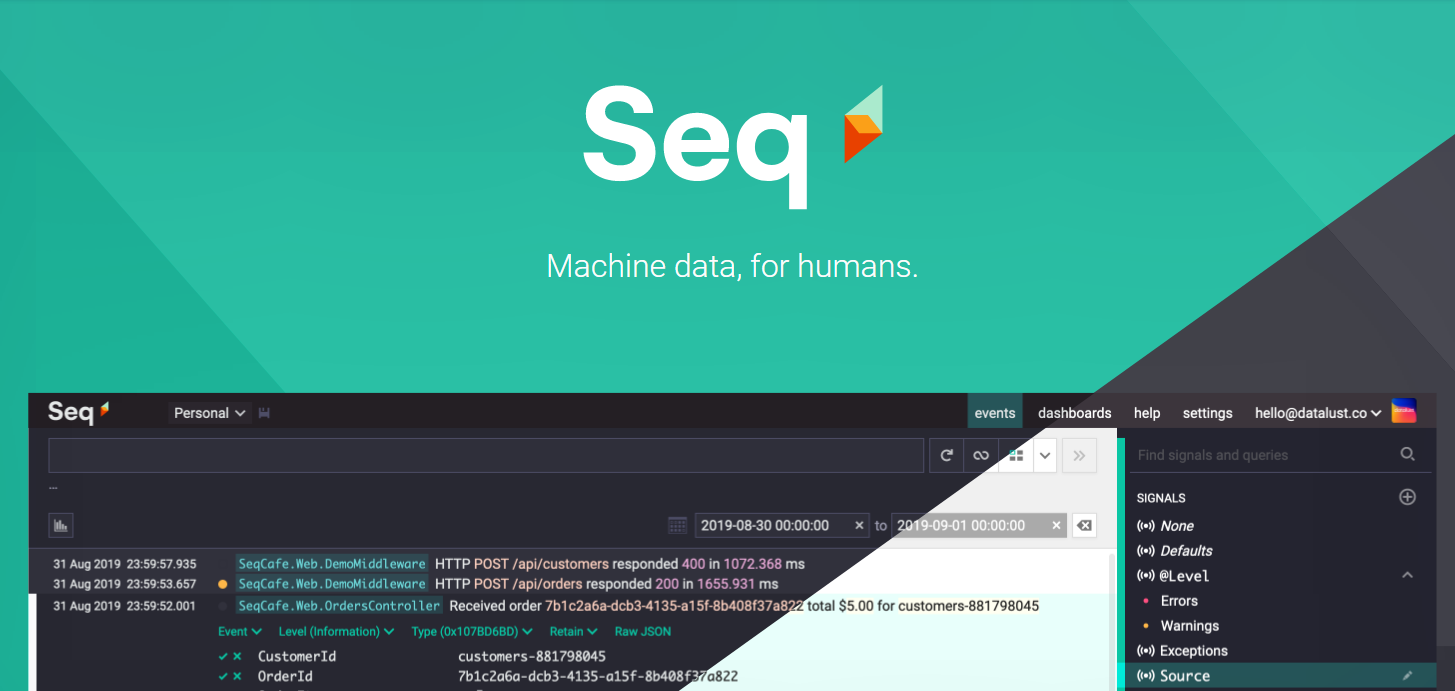
Debugging an application while it is in a development environment or a production environment is always a tedious job. Also to get the exact error that is causing the application to behave unknowingly is very hard and time-consuming. Several tools can be made into use for making the process lot easier and one of them is Seq. Datalust defines Seq as “Seq creates the visibility you need to quickly identify and diagnose problems in complex applications and microservices.“
So, we are going to take a look at implementing seq together with serilog in a .net core application.
Dependency Nuget Package:
- Serilog
- Serilog.Settings.Configuration
- Serilog.Sinks.Seq
You can use the latest version of the above Nuget packages.
Now the first configuration starts with the Program.cs file
public static void Main(string[] args)
{
    try
    {
        var config = new ConfigurationBuilder()
            .SetBasePath(Directory.GetCurrentDirectory())
            .AddJsonFile("appsettings.json", optional: false)
            .Build();

        Log.Logger = new LoggerConfiguration()
            .ReadFrom.Configuration(config)
            .Enrich.FromLogContext()
            .CreateLogger();
    }
    catch (Exception ex)
    {
        // ignored
        Console.WriteLine(ex.StackTrace);
    }
    try
    {
        CreateWebHostBuilder(args).Build().Run();
    }
    finally
    {
        // Close and flush the log.
        Log.CloseAndFlush();
    }
}
appsettings.json is used for holding the configuration data for serilog and seq.
Now on appsettings.json file, we will add the configuration for the log
"Serilog": {
    "WriteTo": [
      {
        "Name": "Seq",
        "Args": {
          "serverUrl": "http://localhost:5341", //url of seq application
          "apiKey": "" //api key used for seq application to connect too
        }
      }
    ]
  }
Once all the process is done, now requires the process of writing logs from within the application. A simple example is demonstrated as below
public class ApiController : ControllerBase
{
    private readonly ILogger _log = Log.ForContext<ApiController>();//For Context Specifies The Class Which The Log Is Intended For
    [Route("getstring")]
    [HttpGet]
    public string GetString()
    {
        string fullName = "Rashik";
        _log.Information("Information Logs: Get String Log Test"); //Simple Log Format
        _log.Information("Inforamtion on {0}",fullName ) // Log can also be used with string interpolation
        return fullName;
    }
}
There are various levels of logs and is represented in tabular form below:

image source: serilog GitHub
Now that the configuration part has completed now we need to set up the seq application. For this download the seq application from this link.
Once the application is downloaded install and launch the application.
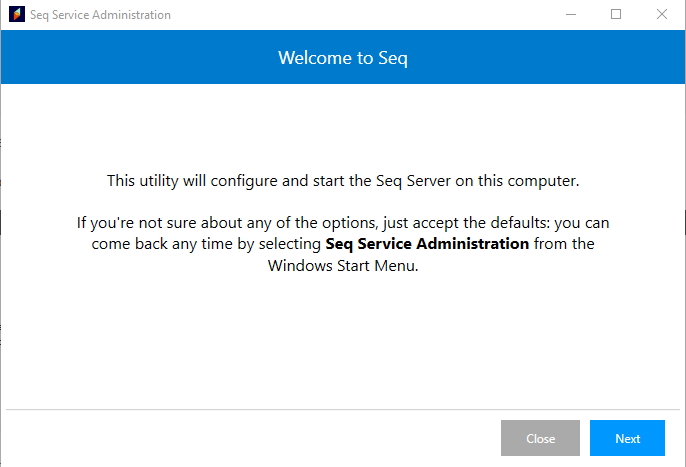
Now click on next.
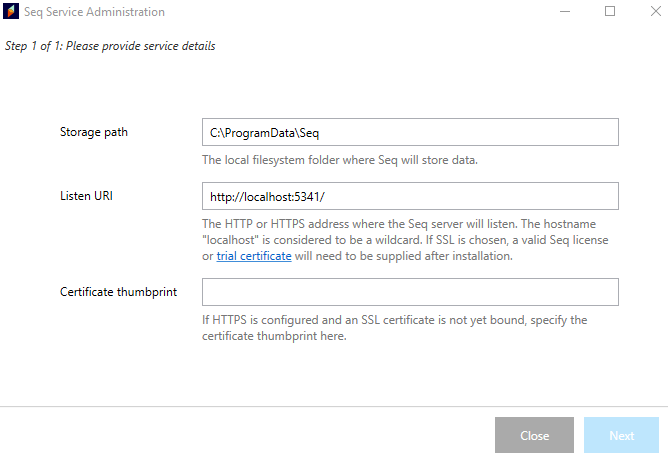
For minimal configuration setup you can leave the filed as it is :
Storage Path: is the path where the log is placed in the disk
Listen URI: the link and port to be associated with the seq application
Certificate thumbprint: If SSL is configured thumbprint is to be placed here. More details regarding this can be found here.
Click on Next and you will be presented with a new window as below:

Now the seq administration configures the service and starts it now we need to click on the Browse Seq button, the link then opens up the seq application.

Now, we need to configure the API key for this you need to follow the steps as :

Click on the API keys menu, a new window will appear and then click on Add API Key then a new windows pops up as :

Give a title to the API key and click on Save Changes we will be provided with the API key on a modal popup so you need to copy the key and paste it into the appsettings.json file on the application as mentioned above. The window also enables one for various configurations like providing server time stamps, permission for the API key, log level to be shown for the API key, and more. We will not be discussing it in detail for now.

Once you close the popup you may not be able to get the key again if you lost you need to delete the current and issue new one with the above process repetation.
Now we are all set for the log to be displayed in seq in the dashboard.

The detailed logs will be visible on the dashboard now. Also, you will be able to filter out the logs with the text box above or by using the navigation menus at the right as per your need.
For now, you need to refresh the page for every time you need to view the logs but you may also enable the auto-refresh logs on the application itself just by clicking the icon

So, here ends the blog regarding the implementation of seq together with serilog in a .net core application.
Happy Debugging And Happy Logging 🙂